March 29, 2012

Organizing Card Games

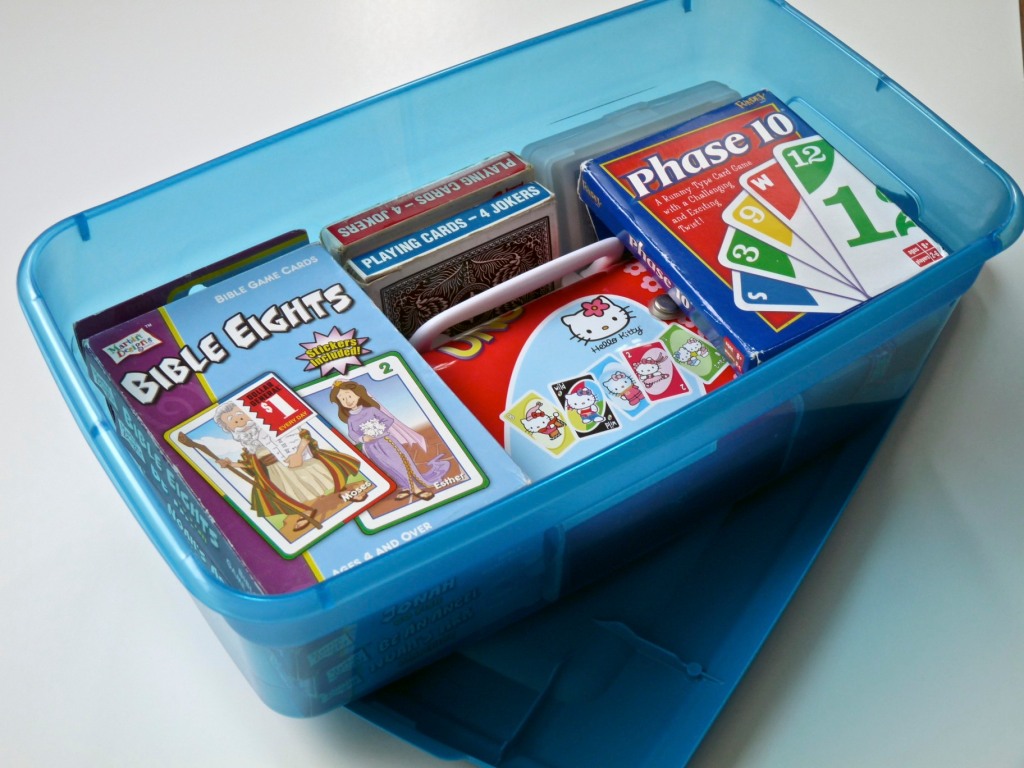
My family loves games, but my husband's family really loves playing games.  Every time we get together we play games.  Board games or card games, it doesn't matter, as long as we are together and having fun!  I learned this little organizing tip from my mother-in-law.  She keeps all of her card games in a small plastic storage tub!  Brilliant!  Its perfect, whenever we want to play a game we know right where they are, all the cards are in their boxes (no need for counting), she even keeps paper and pens/pencils in the box for keeping score.  She brings the game box to relatives' houses, camping trips, and anywhere we might want to play a game.  So after all of these years I finally started my own game box.
Mine is still a work in progress, but you get the idea!  I like everything to have a place, and now even our cards do!
*By the way I love plastic storage containers, all sizes, especially the big ones.  I even ask for them for Christmas!  They have so many uses.  I store seasonal decorations, out of season clothes, old toys that we still want to keep, books, and so much more.  I love it because I can label each box, things are in there place, and the items in the box are protected from water, dust, and bugs.  They are a great way to get organized!

March 24, 2012

New eye make up remover (even for waterproof mascara)!

In my post Makeup Remover and Shower Cleaner, I gave a recipe for a make up remover, and I mentioned that I was going to add more olive oil to it.  I added enough oil to make the total amount 1/4 tsp.  I got the same results, the eyeliner came off great but the majority of the mascara stayed.  I think this recipe is a little to watery.  I wear waterproof mascara, so I need something a little stronger.  So I searched the internet for other make up remover recipes.  I didn't really find much.  Some people said they used just oil, while others said they used just baby shampoo.  So I got to thinking what if I just made my own recipe with more oil and shampoo and less water.  So I did and I think it works great!
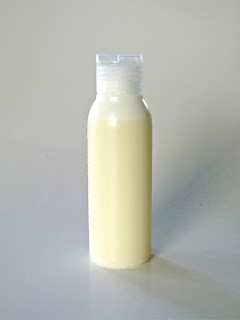
I had a 3 fl. oz. travel container with a flip top lid that I used to store my make up remover.  I added 1 oz.( 2 Tbsp.) olive oil, 1 oz. (2 Tbsp.) baby shampoo (tear free), and 1 oz. (2 Tbsp.) water.  Shake it up and you are good to go!  I tested it on my arm, I put eyeliner and mascara on my arm, let them dry, then used the make up remover to remover them.  And what do you know, they both came off much easier and cleaner than the other remover.  The real test of course is how well does it come off your eyes.  I have been using it for the past couple of days and it does the job.  I'm very excited that I found something that is quick and easy to remove even waterproof mascara!  Hope this works for you as well as it did for me!

Materials you need!
Finished product!
   

March 19, 2012

House Warming Gift

Here is another idea for the Custom V&P Painting, a house warming gift!  My friends were building a new house so my husband had a great idea to have their 2 children each draw a picture of their new home!   Here is their drawings and the finished paintings.

    Annaliese age 9

Child's actual drawing
Finished Custom V&P painting

Will age 6
Child's actual drawing
Finished Custom V&P painting

My friends loved them!  The mother said "You brought their drawing to life."  

The custom V&P paintings are such a great gift idea!  If you are interested in purchasing a Custom V&P painting click on the link below.  We can start bringing your child's artwork to life!


March 17, 2012

Roman Shades

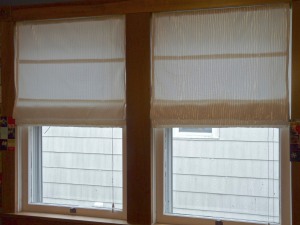
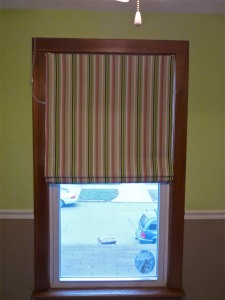
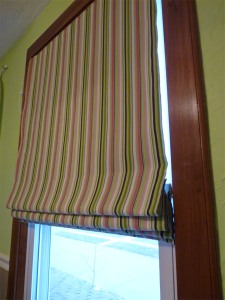
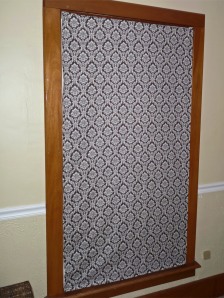
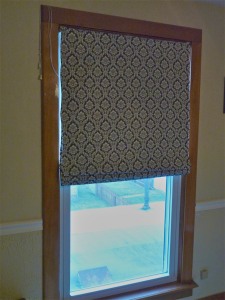
I decided that I wanted Roman shades in a couple of rooms in my house.  Well I wasn't about to buy them, they can be so expensive, and you know how we like to save money.  So I got the brilliant idea to make Roman shades.  So I searched online to find the quickest and easiest way to make Roman shades, and I think I found it.  Little Green Notebook has a great DIY for making roman shades out of mini blinds.   It has easy to follow directions and there is no sewing involved!  If you want to make the Roman shades click on the Little Green Notebook link above.  I'm going to show you a couple of Roman shades that I made and give a few tips that I learned from making them.  Now remember this was my first time making the shades, so they aren't perfect!

These were the first shades I made,  I'm not the best at measuring things or cutting things straight.  So my first tip would be have someone help you with measuring and cutting if your anything like me.  My wonderful husband helped my with the other shades!


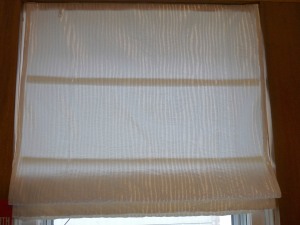
For these shades I lined them with room darkening fabric.  I recommend using the room darkening fabric for rooms such as the bathroom or a bedroom.


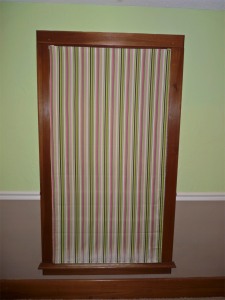
Again I used the room darkening fabric for these shades as well.  As you can see, the Roman shades fit perfectly into a window, when measured and cut correctly, and look really cute!
On the Little Green Notebook site she suggests using fabric glue and not hot glue.  I used fabric glue and it did a great job, especially on the white shades I made (the first pictures).  Those shades rarely get used so there isn't much wear and tear on them.  They other shades, however, are used daily.  They are pulled up in the morning and down at night, so needless to say, the glue isn't holding up so well.   I know she says not to use hot glue but I needed a quick fix for the fabric that is not glued to the mini blinds anymore.  We'll see how the hot glue holds up.  What I suggest doing is sewing the fabric to the mini blinds.  Just one vertical stitch on both sides of the shade where the fabric is folded over.  I did not do this to my shades and I wish I did.  My sister made some and she sewed the fabric the the mini blinds and they seem to be staying together just fine.  Now if you decide to sew your fabric to your mini blinds make sure you get the cheap plastic mini blinds and not the metals ones.  I got my mini blinds at Walmart, they can range anywhere from $5-$15 depending on the size of your window.  Also use a strong needle that will sew through the thin plastic.
If you use the room darkening fabric, you might want to sew it to your printed fabric, that way it will hold together better than gluing it.  Just make sure you leave the bottom open (meaning sew the left side, top, and right side) that way you won't get an air bubble in between printed fabric and the room darkening fabric.  I didn't do this so I have an air bubble in my shades and they don't lay very smooth.
I think those are all of my tips I hope this is helpful!  Let us know if you tried making your own Roman shades!
-Kiley
March 12, 2012

Dryer Sheets for Dusting

Here is a quick household tip I got from my mom.  She takes dryer sheets that have already been used and uses them to dust.  I thought that is silly just get out your dust cloth and dust spray.  But the dryer sheets really do work.  Its great for a quick dust job.  Now it won't give you a perfect polished furniture look, but it does pick up the dust.  After my mom does laundry, she saves the used dryer sheets and stores them under the kitchen sink, and when she needs a quick dust she grabs one and goes.  Its that easy and your getting another use out of the dryer sheet!  Also its great for kids to use, they can help do the dusting too!

March 8, 2012

Rings

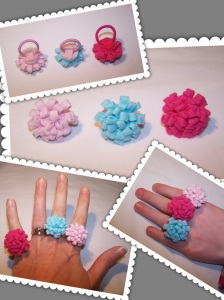
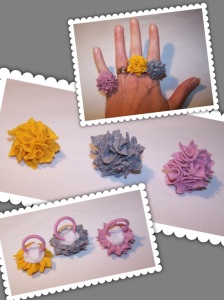
These are cute little rings I made too, another crowd pleaser : )  Myka made the ones on the left and I made the ones on the right.
-Piper

Dangling Hair Clips

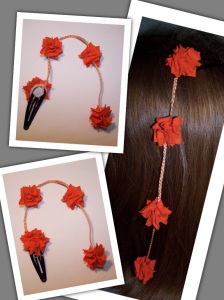
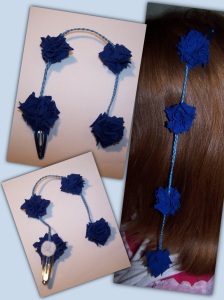
I figured that girls are crazy about thing hanging in their hair right now, so I created Dangling Hair Clips, my daughter's favorite.   Of course the pink ones sold first.
-Piper